Jeff, I hate the idea of relying on filters to save your motor when your tank is known to be filthy. Get that crud outta there!
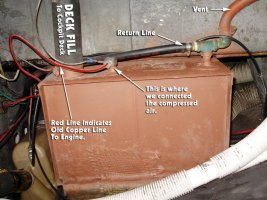
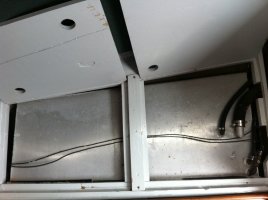
I don't know what kind of access you have to your tank, but mine is easy. It's a flat-topped aluminum tank that runs the full length of my starboard settee, so I have complete access to the top. There are two internal baffles running across it's width (according to my taps with the handle of a screw driver). I will cut three 5" holes using a hole saw and WD40 as lube. The holes will be over the deepest portions of the tank (it's contoured to the hull shape); one in each baffled chamber. The hole saw will cost $20, and I'll spend more time in the checkout line than it will take to cut the holes and de-burr the edges. You may only need one access hole.
Before I cut, I will use a hand pump and empty the tank into a jerry jug and dispose of it at the fuel dock. The vent fitting in the tank is large enough for me to insert the pump tube.
Then I will scrub. If necessary, I'll remove the tank and use a high pressure water sprayer--but I don't think that will be necessary.
To cover the holes, I am having covers and backing plates made (see attachment). I will use Buna-N for gasket material, and 5/16" bolts to fasten them. SeaBuilt makes similar covers, which they demonstrate here: http://www.seabuilt.com/demo.php
This seems much easier than stocking up on filters and worrying about crud getting into the motor.