FWIW I pulled the fuel tank out of my E-34 to have new mounting tabs installed. Before welding, the fab shop had to purge the tank anyway, so a clean out was in order. Pulling and re-installing the tank was more PITA than difficult. While it is out, inspect it for corrosion and possible weak points.
Pressure testing to 1/2 psi for 30 minutes is a good way to go. Any large diesel generator shop (CAT, Cummins, Detroit Diesel) in your area will have the plugs and guages to pressure test the fuel tank. Typical labor is about 2 hours in shop for a pressure test like this. Use the commercial gen shop since they do this all the time for UL and fire code compliance. Any marine shop will likely look at you like an alien and charge double since it is a "marine" shop....
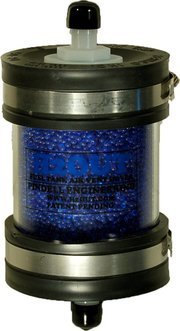
Next, replace all of your rubber fuel lines, including fill and vent, if they are over five years old since they will degrade with time. While replacing the fuel lines, install a Racor fuel filter with a plexiglass bowl so you can see water and sediment building up and drain it as needed. I know,,,, ABS only approves metal fuel filter bowls! However, we are on sail boats, not commercial ships.... The centrifuge process of that new Racor filter will keep clean fuel going to your engine and give a chance to prevent getting water in the fuel injection system.
All this sounds pretty spendy, but consider the cost of replacing all of your fuel injection components.......:0
Chris
Flight Risk
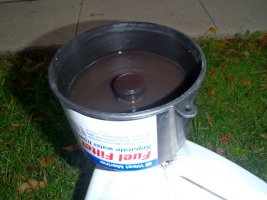 Filterd Fuel.jpg51.7 KB · Views: 502
")
 ></O
></O