2nd to last post on this thread/ under sail to follow.
Eastern Canada is having the coolest, wettest Spring probably on record. Average daily high for the Spring of 2011 must be in the range of 12-14 deg. C with nightime lows of 4-6 degs and the occasional frost warning in low lying areas! This weather, primarily the rain, drizzle and fog has discouraged activities at our little Yacht Club.
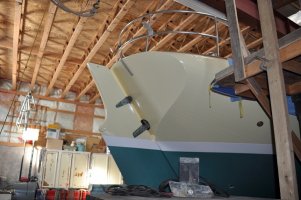
This past Friday I helped fellow club members (Charlottetown Yacht Club) with the launching of 6 boats. The club has a small pedestal crane with a capacity of 5T so every boat from "D" Dock and a number of misc. scattered/ power boats require either trailer launch or service of a mobile crane. Friday was planned Crane Day. Perfect weather and virtually no wind, we were therefore able to splash six hulls as fast as conveyances (every possible configuration of trailer/ wagon/ highly modified former "float trailer") as could be moved in and out of the slot beside the crane. We were able to tie each of the boats off the ends of adjacent fingers with a single fender or rafted them together. This kept them all handy for recycling back to have their masts stepped by the same crane.
This involvement on my part earned me a ready host of volunteers to erect my mast with the clubs' manual jib crane that afternoon (repeat manual- block and tackle hoist, etc) Fully dressed my mast is a struggle with that rig, anyway, its' up.
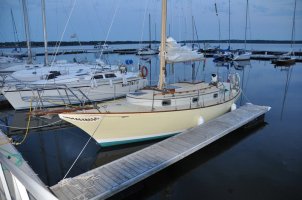
The included image was taken at dusk Friday night, stays had been snugged up and the new full batten main had been run up the new Tides Marine mast track. The re-designed lazy Jacks seemed to wok quite well. Thanks Guy S for your article/ link! The new hatches are evident. (note to self-lube the mast top sheaves next Fall!) Note: shes' riding higher by the bow after removal of 450 Lbs of lead ingots from below the Fwd. water tank. Addition of chain rode will trim some of that out.
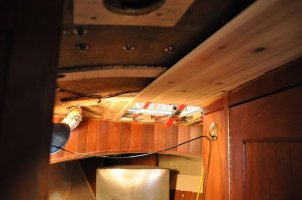
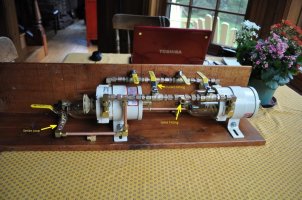
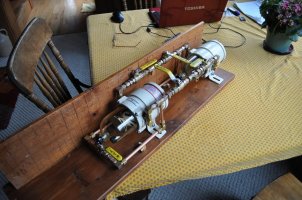
BTW: the vessel parked beside me is "RUMPOT IV" not "KUM*** ** We can now go sailing but without a seahood. The hood is scuffing the top of the companionway hatch/ fresh varnish. Contributory to this interference is the rebuilding of the hatch, 1/4" - 5/16" thick slats (over Plexi) were removed and replaced by 3/8" - 9/16" teak planking over a ply sandwich. Extra height of the sliding hatch caused the clash. Last week on one of the rainy days I took the seahood home to make the necessay repair. The middle stiffener rib had, at some point been broken and poorly repaired. Off-centre that middle rib was nearly about 3/16" lower then it's adjacent stiffeners. Idea was to saw and grind out the filler material from the inside of the stiffener cavity, force the hood back into shape and refill the stiffener cavity.
Jigged up persuasion with a 2 x 4" for a beam, using clamps and shaped with strut pieces between the beam and the inside surface of the hood on each side of the groove. I used two softwood strips for void filler sandwiched with a couple of ribbons of F G cloth and epoxy resin. Obviously now I should have used more glass (with perhaps a bit of carbon fibre) since the hood resumed pretty much its' former shape. What I'd removed looked like a mix of paste filler and chopped glass.
I've concluded I'll rework the drooping stiffener and then re-install the seahood on top of teak battens to give me some margin on clearance.
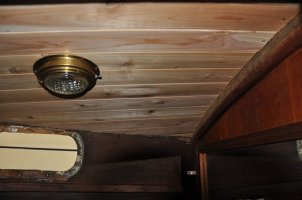
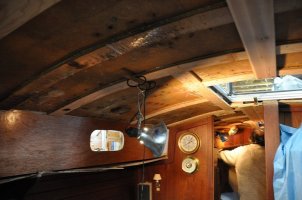
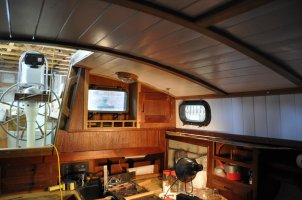
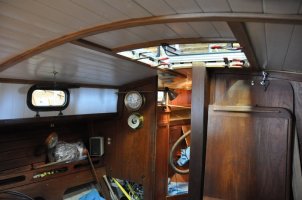
Other interior tasks are on the go, I've replaced the head with a Baby Blake, very handsome if such can be said about a toilet fixture, and sinks have been swapped out for copper basins and new tap sets.
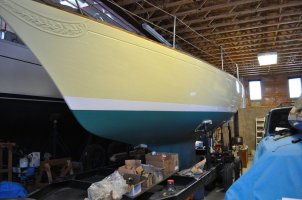
The gold work on the cove molding will have to wait until the Fall.
 DSC_0359.jpg84.1 KB · Views: 205
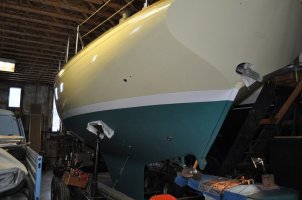 DSC_0355.jpg64.4 KB · Views: 187

") >
>