Hello folks-
The cam cleats (with eyestrap) that secure my traveler lines are dead... they no longer spring closed (though you can force them closed with your fingers and they will hold.) They are definitely old/dead; it's not just a bad spring (and same issue on both port and starboard cleats).
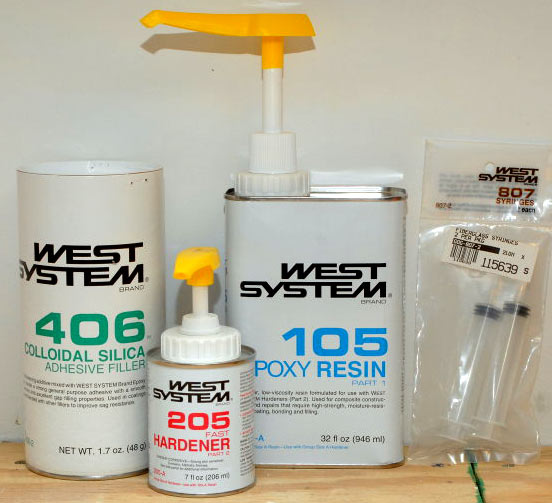
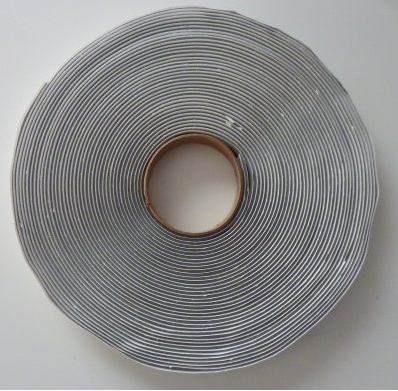
I am unsure what's involved in fixing/replacing them, and my boat maintenance books don't say. Is this as simple as "buy one, unscrew, and drop the new one on"? Or to avoid water damage to the deck do I need sealant, epoxy to deal with holes, and whatever else?
I have never replaced any deck hardware, as is probably obvious -- this seems like a low-stakes place to start. Any advice appreciated; I searched but did not see anything on replacing these things.
Best-
Neil
The cam cleats (with eyestrap) that secure my traveler lines are dead... they no longer spring closed (though you can force them closed with your fingers and they will hold.) They are definitely old/dead; it's not just a bad spring (and same issue on both port and starboard cleats).
I am unsure what's involved in fixing/replacing them, and my boat maintenance books don't say. Is this as simple as "buy one, unscrew, and drop the new one on"? Or to avoid water damage to the deck do I need sealant, epoxy to deal with holes, and whatever else?
I have never replaced any deck hardware, as is probably obvious -- this seems like a low-stakes place to start. Any advice appreciated; I searched but did not see anything on replacing these things.
Best-
Neil
Attachments
-
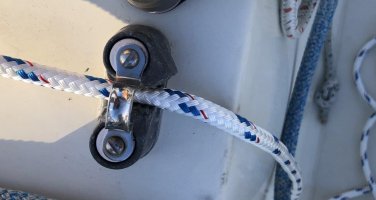 clam cleat eyestrap.jpg88.8 KB · Views: 6
")