Returned to sailing in 2016 after a 20 year absence.
And so it goes with owning a boat. As in these are “winter projects” from last winter; things I’m just now finishing up months later than planned. The winter list was something like this:
- Alter sail cover to fit around Dutchman and add bird-proof netting underneath,
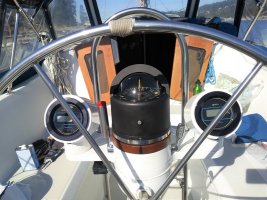
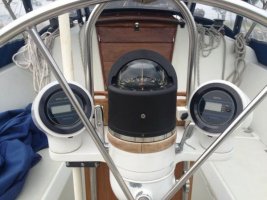
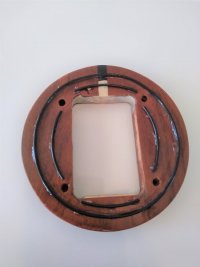
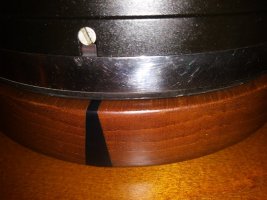
- Revamp compass and teak base,
- Re-finish and repair damaged bilge cover-plates and mast trim rings.
I contracted the sail cover work out over the winter, so that was completed on time and ready to go last spring. The...
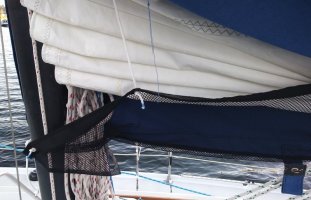
- Alter sail cover to fit around Dutchman and add bird-proof netting underneath,
- Revamp compass and teak base,
- Re-finish and repair damaged bilge cover-plates and mast trim rings.
I contracted the sail cover work out over the winter, so that was completed on time and ready to go last spring. The...
You do not have permission to view the full content of this entry.
Log in or register now.
-
 21616.jpg
 -
 21613.jpg
 -
 21614.jpg
 -
 21615.jpg
 -
 21617.jpg