
Enjoy sailing since I was a child, the passion has never faded. I have owned five boats: Sunflower, Wayfarer 16, Four Winns 170 (powerboat), Starwind 19, and Ericson 25CB, and crewed on or chartered many others.
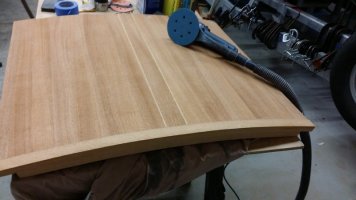
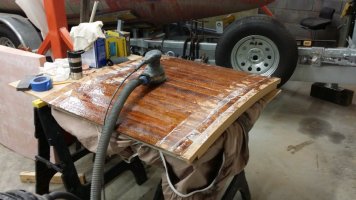
For me, the journey of restoration, or in the case of my Ericson a resurrection, is as much fun as the destination. I enjoy making my own parts for my boats (and others) in my vintage machine shop where most of the tools I restored.
To see my machine restorations on the Vintage Machinery site:
http://vintagemachinery.org/members/detail.aspx?id=13294
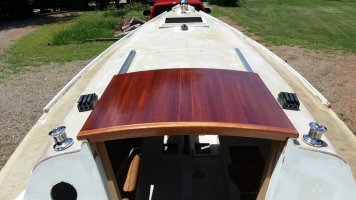
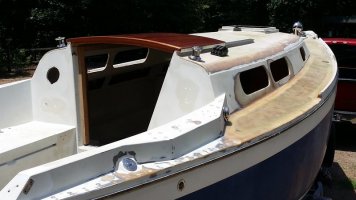
1973 Ericson 25 CB
For me, the journey of restoration, or in the case of my Ericson a resurrection, is as much fun as the destination. I enjoy making my own parts for my boats (and others) in my vintage machine shop where most of the tools I restored.
To see my machine restorations on the Vintage Machinery site:
http://vintagemachinery.org/members/detail.aspx?id=13294
1973 Ericson 25 CB