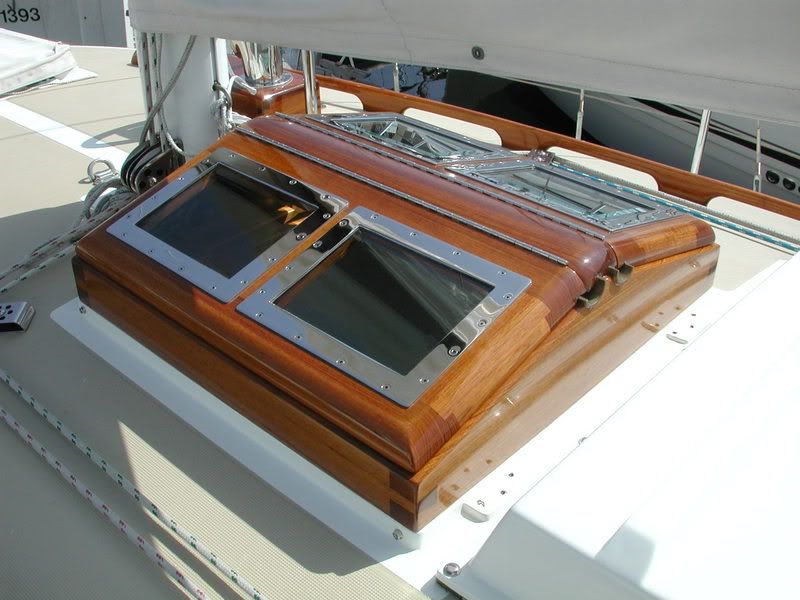
I'm in the process of rebuilding all my hatches, and am deviating (who, me?) from the orginal design. I'm not a big fan of the boxy, high profile original hatch design, and plan to build a frame with a rounded upper outside edge (done with a router), and insetting the acrylic inside the frame, rather than screwed down into the top of the frame. Also planning on going with smoked grey acrylic rather than the clear stuff to help keep things cooler down below.
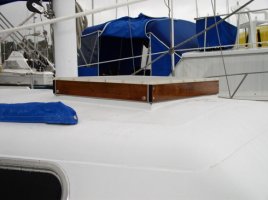
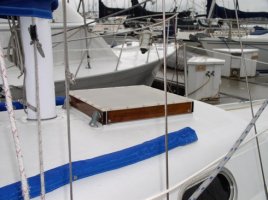
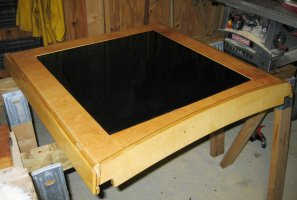
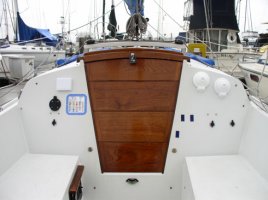
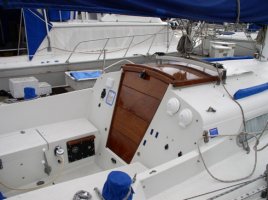
My first project is the companionway hatch, and have built a prototype out of plywood of a proposed design (see pics below). All joinery is dado and rabbet, and the whole structure will hold itself together unglued. All edges are routed to a smooth radius curve. I've gone ahead and glued it and coated it in epoxy so I can actually use it while I'm building the final version. I'm keeping the curve in the front and back of the hatch to maintain the overall lines, with a sufficient rise in the front to act as a spray guard, and I'm keeping the 15 degree (approx) bevels on all four sides. The back of the hatch is not installed in the pics, but has a similar rise as the front. It must be a separate piece fastened after it's mounted in order to keep it from coming off the rails. I am going with a flat surface in the hatch design to allow for an acrylic insert in the top (havn't gotten into forming acrylic yet - my wife won't let me use the oven for that). Final version will be coated with cloth and matte, vacuum bagged, and painted to match the color of the hull. Less wood, less maintenance...
Once this is finished, the forepeak and salon hatches will be built to match, without the bevels, but with the radiused edges and smoked acrylic. Also thinking of a design that will allow them to open both forward and backward with the aft side mounted to the deck. Possibly a frame within a frame, hinged? Hmmm...

")