Have a look toward the end of this blog entry for what I did:
 ericsonyachts.org
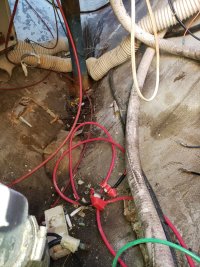
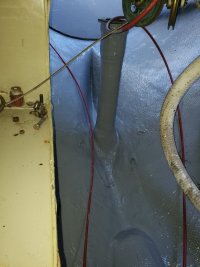
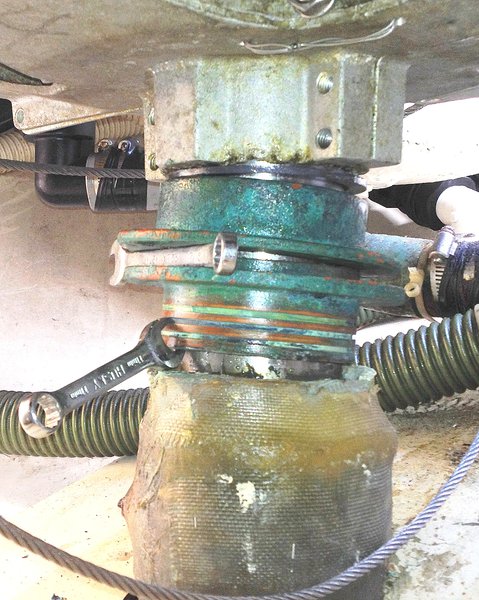
E32-3 - Rudder Gland Repack and Reseal, New Zerk Installed
Symptom: Water in the bilge after returning to slip. Bilge is normally dry. Cause: Rudder packing gland/rudder tube/frozen lower grease fitting. There should not be much water in the bilge of a fiberglass boat. I figure that with a dripless...


.jpg")