Fuel System Project update: Priming the System.
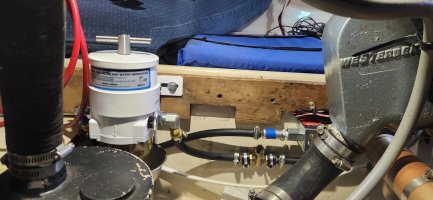
Today, while taking a break from fighting the continuous battle of making the critical updates (and upgrades) to the 32-2 engine to panel electrical system, (I'm nearly broken due to my limited marine electrical skills and knowledge) ... I went ahead and primed my newly installed fuel system (hoses, e-pump, racor 500, hoses, repositioned 2ndard filter).
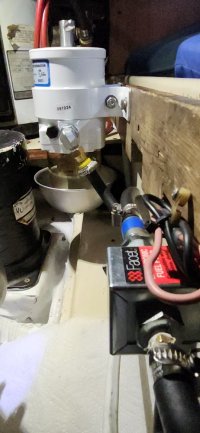
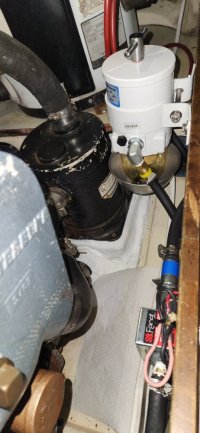
I hooked up a traditional outboard fuel tank to the hose attached to the fuel pickup tube and pumped with outboard tank hose bulb new fuel into the Racor 500, keeping the 500 top off. I noticed fuel rising and had stopped bulb-pumping. It kept rising faster than I was expecting, but I was able to secure the 500 top with only a some overflowing into the metal dish surrounding the Racor's glass bulb.
Then, I hooked up a hot wire (remember critical update incomplete and no power to panel yet) to the BlueSeas fused bus bar where the pump will get its power. After grounding the e-pump, I tested the pump by inserting a fuse and "ticky tick tick," it went.
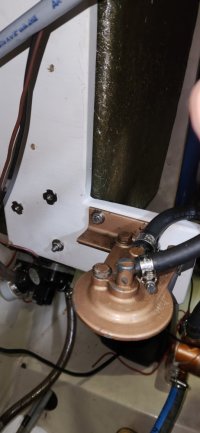
I placed a plastic bag under the secondary fuel filter assembly, but without the filter to check if I would get fuel flowing by only the use of the e-pump and not the aux fuel tank's hose bulb. Shore did. See video.
Screwed on filter element, leaving a little space, and used "insert fuse" technique to energize the e-pump to fill the element. Screwed on filled filter.
I then inserted fuse again to keep priming the system hose supplying fuel to the high pressure pump and injectors. Extra fuel and air would be pumped into the fuel tank.... which it did. Done. Leaving system idle and will check for unpressurized leaks in the days ahead.
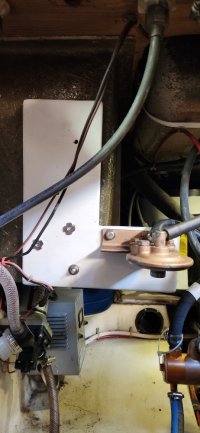
(note, red line is helping keep the Racor 500 vertical while I have the wooden board unscrewed from the fiberglass).