Warning: Personal Opinion, worth only $.02 on a good day.
")
In conversation with our ship wright, while working on our re-fit and paint prep for about 9 months, I recall his observation of the general shine level progression going from the most basic owner 'roll and tip' to the clear coating system used by high end shops.
Subject to my misremembering the info, it might be:
1- roller/brush application of one part paints, like EasyPoxy and its competitors. With enough prep, this will have a not-too-dull shine for several years.
2- spray finish, same paint. Less sags or flaws if done in inside.
3- LPU finishes. Roll n tip. Spray potentially much better.
4- newer LPU finishes with a base color coat, and multiple clear coats on top.
There are examples of
all of these methods in our moorage, and the dullness of the brushed-on paints is noticeable from 15 feet away. Owner applied, and I should note that a nearby boat that had a professional roll-n-tip finish applied is better, but too much.
There are several pro-applied LPU repaints, with no clear coating. They are about a ten foot surface, and their original shine was a five foot surface for the first five seasons.
Thing is, what we are all buying, IMO, is
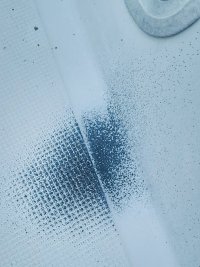
time, and protection of the substrate. Once the original molded gel coat surface is thinned too much by UV wear, you have to pick
something... to again cover the laminate and restore some "looks".
Or, have a power boat that can park under a roof!
Speaking of renewing the surface, several boats have also had major repairs finished up by spraying on new gel coat, and then sanding and polishing it out. This is actually a pretty good solution, but is labor intensive. OTOH, it does shine pretty darned well for about a decade.
It's hard to beat the original "mirror shine" of new gel coat out of a properly polished mold. Only thing with more reflectivity is the buffed-out clearcoatings.
IF.... new molded out gel coat is kept waxed and protected faithfully, it can still retain good shine for 20 years and more. UV is the -mortal- enemy, and boats exposed full time in southern latitudes will see the most surface gel coat erosion. Well applied gel coat from a quality builder is good to have--- we have some early-70's Ericson's and Cal's in our moorage with the dark color inner layers starting to show thru in a lot of little places, more on the south-facing side.
This is one appearance thing that suppresses the retail value of the majority of boats built in that era. While strength might be OK, shoppers are put off by the worn & discolored look. (boats in the Great Lakes where they are covered or stored thru the winters fare a lot better in this regard.)
Sidebar: as an example of how bad an amateur effort can actually be, some years ago while considering a move up, we took a day trip up to view an inexpensive early-80's E-38 in Puget Sound. When we got there, contrary to the glowing description by the seller, we found that the whole deck had been painted, really, with a coarse brush - like a broom. Paint on the hardware edges, too. It was amazing and depressing. There really was no reasonable price we could pay, given the level of restoration needed. The seller would have had to pay us at least 20K to take it away, IF the motor ran (almost invisible under a layer of oily dirt).
OTOH, we have never seen anything else that bad before or since.....
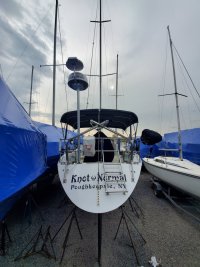
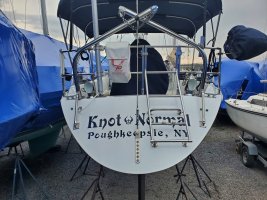
All that said, and it's probably too much said, when you have a "good old boat" and are willing to do all the prep work, a carefully-applied paint job by a careful owner will indeed restore it by 75% at least. Getting it back to where it passes the "ten foot test" is a huge step up. You might get by for well under 1 or 2K in total materials cost, and the improvement will be gratifying. Very much so.
 20200517_202031-01.jpeg171.6 KB · Views: 15