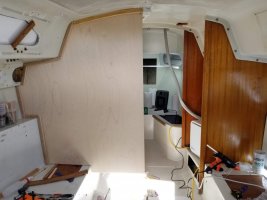
The new main bulkhead was primed then painted with a high-gloss interior-exterior kitchen and bath type acrylic paint. The reasoning is that paint should be the hardest and least porous "economically sustainable" paint, hard enough to sand without gumming up the paper and easy to keep clean. I used it as a test panel to see if I could roll and tip that paint smooth. The answer is no.

I tried water and floetrol in various combinations and failed to achieve the flow-out I was looking for. I think it largely had to do with the temperature, too cold at this point at the time I could work on it (evenings.) I noticed markedly less orange peel and brush marks when it was warmer. Bright side is that you could sand the paint in a couple hours and sure enough, there was no gumming of the paper. Far better than a pure exterior "latex", which is too flexible. After 6 different attempts with adjusted techniques, I gave up and just stuck the bulkhead in for now. After discussing it with a long time friend and business partner, who is in the middle of an extensive remodel of his house, we decided to go in on a good graco airless sprayer. I'm hoping that after some practice I can use the fine finish tips to apply this paint quickly and evenly. We will see.
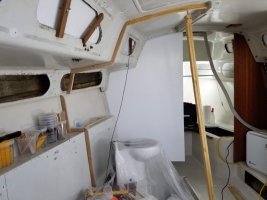
I figured good enough time as any to work on the rest of the new head bulkheads. I needed something to frame the new bulkhead in, aesthetically and mechanically, so let's get started. I first shot a vertical laser level line from the opposite side of the cabin onto the port side. After measuring 8 times, and deciding it was close enough to parralel to the forward bulkhead, I carefully traced the line with a sharpie.
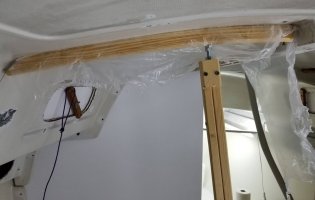
Three 1/2" battens were laminated together to match the cabin top curve, the bottom one rounded over, and left to cure for two days. I fashioned a makeshift jackstand from a couple of furring strips and a 3/8" bolt.
Meanwhile, 1/2 x 1-1/2" stock was rounded over, cut to shape, and tacked (using hot glue) to the liner along the sharpie-line.
1/8" hardboard was cut into 3" wide strips, and cut/shaped/glued together and clamped to the tacked framing to create a template for the new bulkhead. The bulkhead stock was a 5x5 sheet of baltic birch, so doesn't reach all the way to the floor, but this is fine as if it did, I wouldn't be able to fit it through the companionway.

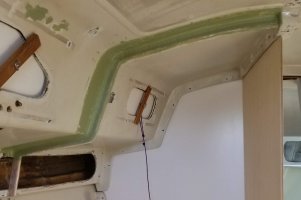
The framing was glassed over with one 8" wide strip of 12 oz biax, then fairing compound was applied (to most of it.. need to finish this process, I hate manual sanding.. The top of the bulkhead actually needed to be cut off, so that it could slide into place under the mast step. I will have to come up with some sort of dressy solution for that. Oh, and - Also, during this time I cut out the new longitudinal/door bulkhead. More on that in the next post...
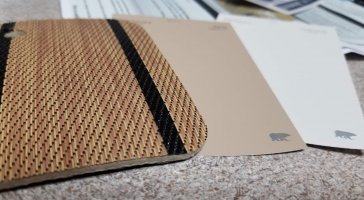
Finally I strongarmed the wife into taking an interest by picking interior color schemes. For the cabin sole, she really liked this woven vinyl mat from Corinthian Marine. I liked that the "cabin sole" would be soft-ish underfoot, would be noise absorbent, and could be unsnapped and taken out onto the dock and pressure washed. And I like the colors myself --
Progress ! I really want to launch this thing by the end of the tolerable season here in Phoenix, which is basically late May to mid June. I know I won't have the time to work out all of the deck hardware and running rigging by then, but I can finish that on the water. So here's to knocking things out..


