Christian Williams made a wonderful video a while back detailing how he replaced the acrylic in his Lewmar hatches. He made it look easy and definitely more affordable than buying new. So with his video a few PM's and a call or two to Tony at Select Plastics I forged ahead.
The first challenge I had was to locate the 1/2" acrylic at a reasonable price. My local plastics guy had 3/8" in stock but would have charged a small fortune to order an entire sheet of 1/2". I found the right transparent grey #2064 at estreetplastics.com.
In talking with Tony I was convinced that I might as well replace the 27 year old gaskets so I ordered a new set from him. It says in bold red on his website "Very difficult to install, you must remove the window first. Don't say I didn't warn you!"
Now that I had the gaskets and the new 1/2" acrylic I needed to remove the old hatches. No problem, just pull the circlips and pins and be sure to collect all the parts in separate bags (large hatch starboard, large hatch port). Then I had to cut some 3/8 plywood for temporary hatch covers held onto place with 5" carriage bolts with wing nuts. Secure so our chart plotter doesn't go missing. Next I removed the old crazed Acrylic from the frames to deliver to my local plastics guy for tracing, cutting and drilling the new ones. $75. Cleaning the old silicone and butyl from the frames was extremely time consuming and tedious. Thankfully, I have a patient first mate who likes detail work. We finished cleaning them in one evening and a morning.
Today I decided to tackle the gaskets. I have a positive outlook on life and didn't want to focus on Tony's warning about how hard these are to install. They are indeed very difficult?
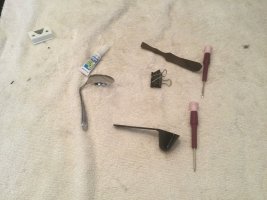
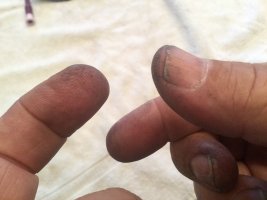
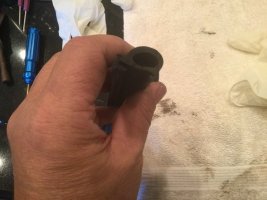
Luckily, I have spent a lifetime changing tires on my dirtbikes and learned a thing or two that will help the next poor soul that attempts the gasket replacement. The big secret is SOAPY WATER! That's right, soapy water. Oh, and a wooden cheese knife, an old spoon, a large paper clip, a coffee spoon from a Cuisinehart coffee maker and a blow drier. The trick is to put the narrow lip of the gasket in first with soapy water using the curved handle of the spoon and slowly work it into the track like putting a tire on a motorcycle or bicycle. Once you get a couple inches in, take the spoon handle and put it behind the area you just did and force it into the small groove. Do about 5" then grab the blow drier to heat up the rubber to make it more pliable. Then with your fingers, grasp the large lip of the gasket and pull over the front. This takes a lot of muscle. My fingers and thumbs are killing me right now...lol! Once you get about 5 " on, grab the paper clip and put it on the end of where you are so as to eliminate the gasket from slipping off. The hard part are the four corners. You need to use a lot of soapy water and heat and work slowly. Once you have the gaskets in you cut the excess and glue the seam with superglue. We did the gaskets in both hatches in about 2.5 hours. Whew!
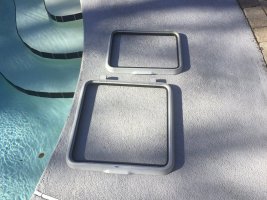
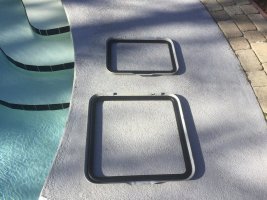
Next we bedded with gray butyl and Dow 795. Used a couple drink tokens from the Elks as spacers and an incentive to get the job finished so I can go grab a few Cruzan Rums?
Hatches off boat and glass removed Monday, frames cleaned and prepped Tuesday and Wednesday, gaskets applied and new glass bedded down Thursday.
Tony from Select tells me I should wait 21 days for the 795 to cure. I told him I might wait three total.....lol!
Wish us luck remounting.
-
1.jpg
136.8 KB · Views: 1,185
-
2.jpg
128.1 KB · Views: 327
-
3.jpg
97.2 KB · Views: 326
-
4.jpg
53.3 KB · Views: 332
-
5.jpg
73.3 KB · Views: 318