Prairie Schooner
Jeff & Donna, E35-3 purchased 7/21
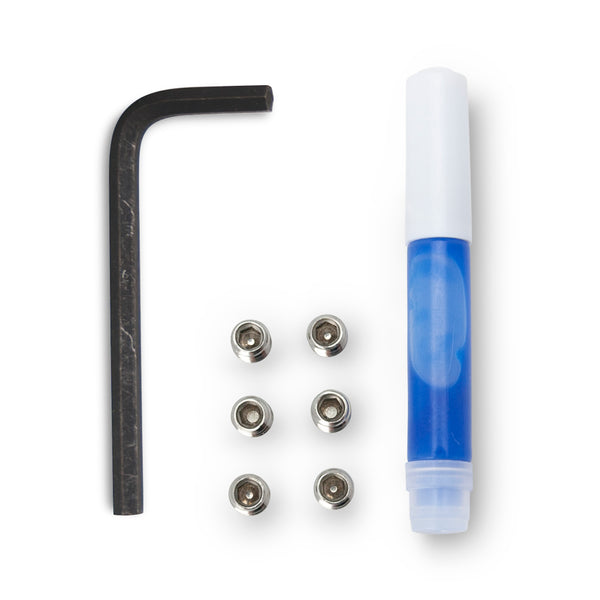
Dave,Also those set screws are NOT reusable. So before you put it back together you'll need to order replacements. Not sure how old your PSS is but if it's 6+ yo or more it may be time for that project too(while your in there). They sell rebuild kits with new bellows, clamps, o-rings, and set screws of course. I think I paid about $90-100 for the kit but that was a while ago...
Are those just standard allen set screws? Normal, non-marring, points, ? I could just add them to the McMaster Carr order I've got started. Otherwise I'd have to pay for a PSS o-ring kit plus postage just to get some screws. I'm not going to take the coupler off the shaft or rebuild the PSS this go-round.
For that matter, why can't they be reused? Do the tips get too work hardened?
Thanks, Jeff