Thank you all for your comments. A few more data points after sailing yesterday a beautiful tour around the bay ) .
- I checked oils level again and engine ( after oil change last August) has not used any oil. It’s still at a high level.
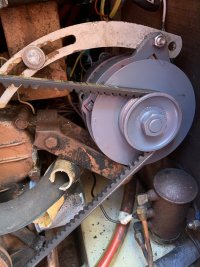
- I don’t have a gauge but alternator belt tension appears to be good ( not too tight ) . I could believe that an over tensioned belt would cause the mount on engine to break .
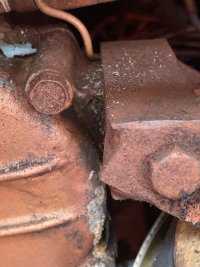
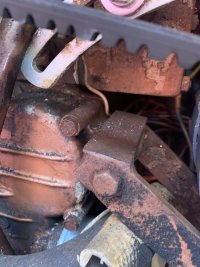
- I’ll order the new bracket . It also looks like a crazy design because it mounts to the manifold studs (?) . I guess there is no other place to bolt it . I’ll need to use the new studs . Mine only have less than 1 mm thread exposed .
- what rpm is your M25’s happy cruising at ? Mine seems to vibrate more over 2200. I have a big folding prop, so I’m wondering about that . ( or maybe engine mounts could be replaced)
Ken,
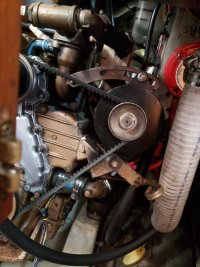
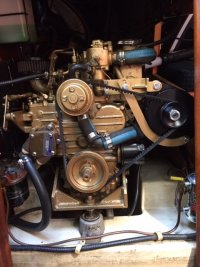
I also have the M25 and have come to be quite fond of it in the ~18 months we've been together. Mine is also a bit un-loved in appearance, however I've cleaned it up over the months and have come to conclude it is likely in good mechanical condition because of the following:
- It starts on the first revolution, every time (to me probably the most important sign of health)
- Doesn't use any measurable oil between changes
- Doesn't blow any blue or black smoke at startup, or during operation
- Will rev to >3000 RPMs in forward gear (under load)
- Operates at normal temperature
- Has a couple places where it appears to weep a little oil, nothing major it is 32 years old after all
To me these are all the signs that I've got a healthy engine that should be fine for many years to come if I take care of it. It's possible that it could fail catastrophically at any time for reasons I can't anticipate, but at middle age the same could be said about me and I trust the actuarial tables that both the engine and I have some decent runway left.
In my experience, the key things to a happy and long-lived diesel are:
- Regularly changed oil, and at least once a year no matter how many hours you've run it
- Clean fuel, regular primary and secondary filter changes
- Clean air (if you haven't changed the original Universal can air filter to the K&N do so immediately)
- Regular use that puts the engine under load, and gets it to full operating temperature (I try to run mine at least every 2 weeks)
- Change the heat exchanger zinc every 6 months
Pretty basic stuff, all things you can easily do yourself.
There are known transmission issues with this particular engine, however mine seems to work fine. Cross that bridge if I get to it.
Mine needs a coat of paint, and the engine mounts to be replaced as Loren says. Mine too feels a little too rough over 2200 RPMs... maybe it's the mounts, maybe the folding prop... for now not an immediate problem.
My take is replace the alternator bracket and continue to enjoy the engine and the boat.
Rob


")