Rocinante33
Contributing Partner
the gallows of a sail boat
I regret that I have only one ice to give for my country.
If we do not ice together, surely we will ice apart.
However, i ce what you mean.
Hahaha!!!!
the gallows of a sail boat
I regret that I have only one ice to give for my country.
If we do not ice together, surely we will ice apart.
However, i ce what you mean.
Hahaha!!!!
Juice,
Those dudes sound like potential Darwin Award nominees! They must've not only put dry ice in the well, but I guess they also descended into it!? Or perhaps they just sat in an enclosed pump house and waited for the O2 to be expelled!??? And to try fracking, yeah, that sounds brilliant. Well, RIP.
In any case, an open companion way and one or two open ports should be all that is required to ventilate for this. I am not talking about a huge piece of dry ice. One pound is probably more than adequate.
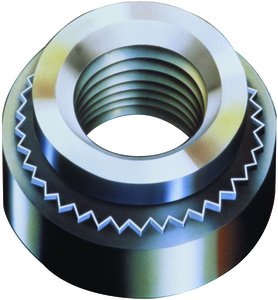
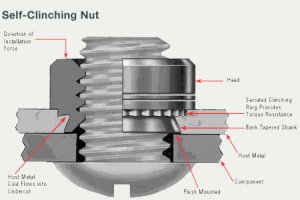
Self-clinching nuts. Never heard of them. Very promising idea. But--how in the world do they work? Ahh....

Tom, Fastenal, the manufacturer, says an arbor press is needed to install the self-clinching nuts.
My sheet metal guy, who is making the 3 1/8th alum cover plates, doesn't like the whole idea of this project.
He says 3/32s is "pretty thin" for a 50-gallon tank, and he isn't a fan of tapping it.
I plan to cut inspection ports openings with a jig saw. Or a sabre saw, as Glyn did. The tank wall is 3/16ths aluminum.