Sven
Seglare
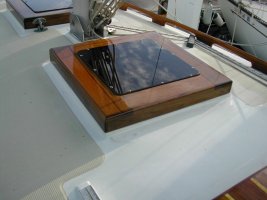
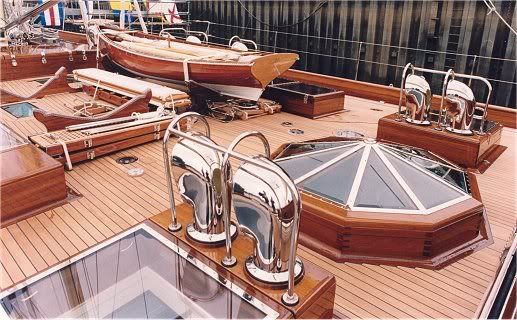
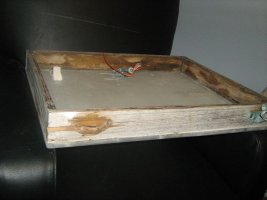
I'm a romantic masochist ... I've convinced Nancy we should stay with teak framed hatches rather than replace them with aluminum Lewmars or the like. I really like some teak even if it is more work.
The "glass" will be 1/2" smoked gray transparent acrylic from Tap Plastics (pre-cut, beveled and finished")
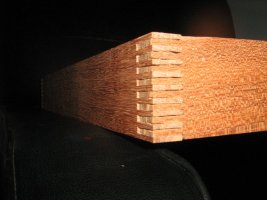
When I replaced La Petite's hatch I used dovetail joints just for the look http://picasaweb.google.com/lh/photo/K48ajP9L6SV3j73KtZavNA?feat=directlink (and the experience too). The hatches on the E39-B are much simpler than the one on the E23-II; they are just simple (if large) straight-sided boxes. I'm tempted to also make the joints simpler; butt joints rather than dovetail.
My question is what the relative strengths of the two types joints are ?
Thanks,
-Sven
The "glass" will be 1/2" smoked gray transparent acrylic from Tap Plastics (pre-cut, beveled and finished
When I replaced La Petite's hatch I used dovetail joints just for the look http://picasaweb.google.com/lh/photo/K48ajP9L6SV3j73KtZavNA?feat=directlink (and the experience too). The hatches on the E39-B are much simpler than the one on the E23-II; they are just simple (if large) straight-sided boxes. I'm tempted to also make the joints simpler; butt joints rather than dovetail.
My question is what the relative strengths of the two types joints are ?
Thanks,
-Sven