We moved LAYLAH (formerly Dina G) a 1980 Independence 31 Cutter up from Philadelphia last January. Since I generally work away from the home Province I have ample time to watch eBay (my main amusement actually while I'm waiting for a Total Hip Replacement)
I have managed to acquire many, many suitable "experienced" Items on eBay.
Projects completed this year;
Installed Harken Windward Sheeting for the Main.
Rewired the Mast and added Spreaded Lights (Bonus-the wiring circuit was already pulled to the foot of the mast at the factory)
Installed a Mustang (a la ebay) 12v Capstan including dedicated circuit.
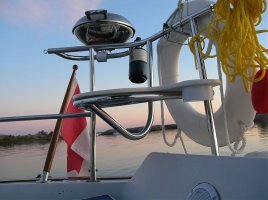
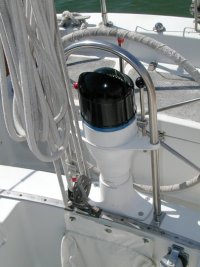
Installed a Standard Horizon (I think it's a) Model 2360 with Ram + second station at the Helm.
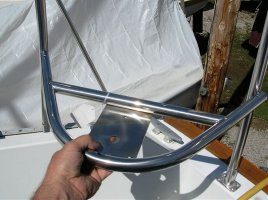
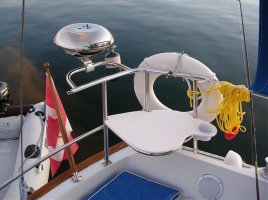
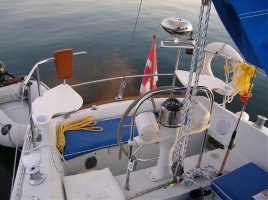
Installed a Binnacle Guard and folding cockpit table.
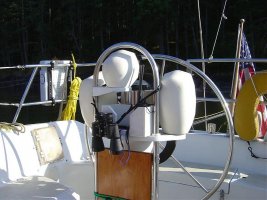
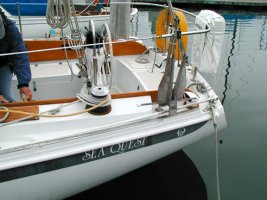
Installed a Kelvin White Consellation (big) Compass (rebuilt with the assistance and advice from Viking Instruments of Mass.
Installed Dorades, head comp't and fwd. cabin (P & S)
Adapted a Boarding Ladder, the 4 step telescoping type, using West Marine Deck slot type brackets.
Retired the antique Schaefer Roller Furlers and for at least an interim will go with a modified sail plan constisting of hank-on Staysail and 90% Jib.
Material and components in hand and yet to be installed;
To-be Installed- thru-hull valves with bronze seacocks.
To-be Installed- JRC 24 mile Raster Radar (got as far as mounting the radome antenna bracket on the Mast last Spring)
To-be Installed- Standard Horizon 170C GPS MAP
To-be Installed- Dickenson Newport Diesel Cabin heater.
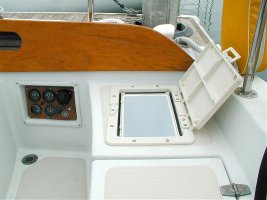
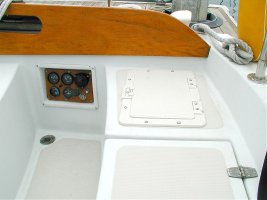
To-be Installed- Bomar aluminum dech hatch (15" x 23" clear opening) in the cockpit sole.
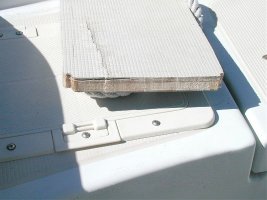
To-be Installed- to replace the wood fwd. hatch. a rebuilt Bomar Ocean Series low profile hatch (new lens, new slat shade, new screen frame, adding a second supp't strut-orig. only had one) (rebuild was this weeks' project)
To-be Installed- new 12v Paneltronics breaker panel and Blue Seas 110v
Future Plans;
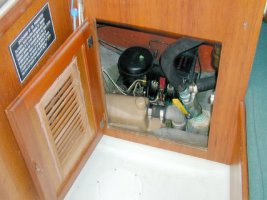
Replace the Frigibar Refrigeration with new-(got it wet, don't ask)
Build a Butterfly Hatch for mid-ships, a la Gary Stoop's fine example.
Inverter, 1000 to 1500w
Probably go to a Tides Marine UHMW track and Sail hardware- a serviceable existing Main with the addition of full batons will be Ok for a while.
<a href='http://img.villagephotos.com/p/2006-1/1138028/BowSummer06.JPG'><img src='http://thumbs.villagephotos.com/18099091.jpg'></a>
<a href='http://img.villagephotos.com/p/2006-1/1138028/BinnacleGuardSummer06.JPG'><img src='http://thumbs.villagephotos.com/18099090.jpg'></a>
<a href='http://img.villagephotos.com/p/2006-1/1138028/Stbcabintopfwd.JPG'><img src='http://thumbs.villagephotos.com/18361393.jpg'></a>
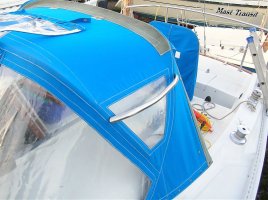
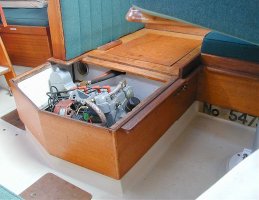 Enclosure mod.jpg79.1 KB · Views: 230
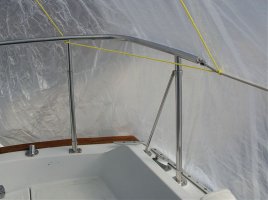
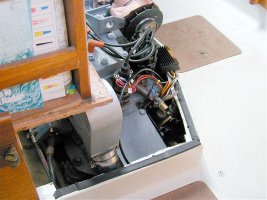 Enclosure mod 2.jpg86.6 KB · Views: 216
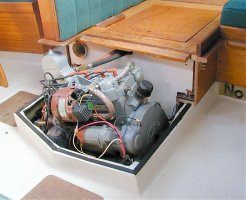 Enclosure mod 3.jpg80.5 KB · Views: 230
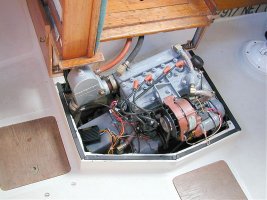 Enclosure mod 4.jpg100 KB · Views: 243
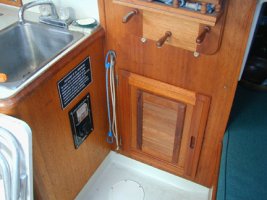
 )
)