-
Untitled Document Join us on November 22nd, 7pm EDT
for the CBEC Virtual Meeting
Adventures & Follies
All EYO members and followers are welcome to join the fun and get to know the people you've met online!
See the link below for login credentials and join us!
(dismiss this notice by hitting 'X', upper right)
You are using an out of date browser. It may not display this or other websites correctly.
You should upgrade or use an alternative browser.
You should upgrade or use an alternative browser.
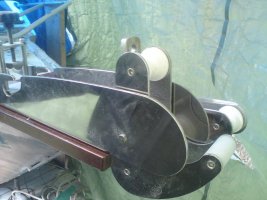
New looking bronze.
Svein, I was just referring to the new looking bronze parts for the rudder shaft seal that you just cleaned up and reassembled. Good job, well done, Glyn
Svein, I was just referring to the new looking bronze parts for the rudder shaft seal that you just cleaned up and reassembled. Good job, well done, Glyn
sveinutne
Member III
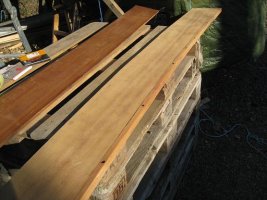
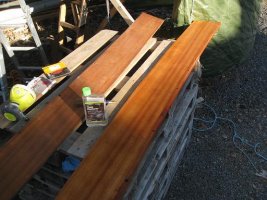
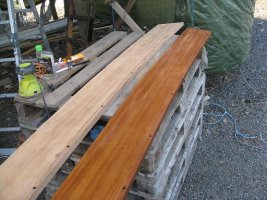
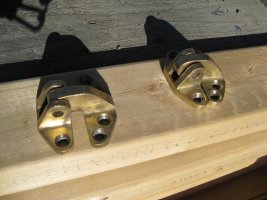
I am not sure if I am using the quickest or best way to restore teak and wood in the boat. I sanded down the plank and gave it a layer of teak restorer. It looks very nice for 5 minutes, but then it turn back to dull gray. Then I give it three layers of varnish. In the picture only the first layer is put on. In the last picture you can see the hinges for the front hatch.
Attachments
sveinutne
Member III
How hard should the wire be tightened for the rudder?
I think I have tighten the wire too much, so now the rudder is difficult to move, so I will loosen it again, but I wonder if there is a rule of thumb to follow for how much force one should use on the steering wheel for turning the rudder? If I want to use the autopilot this might be important not to need too much force on it, but on the other hand it should not be too loose.
I think I have tighten the wire too much, so now the rudder is difficult to move, so I will loosen it again, but I wonder if there is a rule of thumb to follow for how much force one should use on the steering wheel for turning the rudder? If I want to use the autopilot this might be important not to need too much force on it, but on the other hand it should not be too loose.
sveinutne
Member III
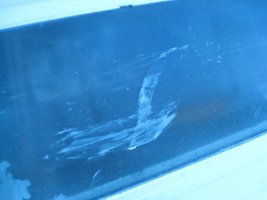
We had a week with warm weather here, so I manage to put topcoat on half the top of the boat. I tried to be smart with the fixed windows, and put topcoat directly on the frame and in the gap between the frame and the wall for making a waterproof seal. If it will be waterproof time will tell, but I made a mistake and only masked the edge, and not the whole window, so now I got some of the topcoat on the window. The window is not made of glass, but some sort of plastic and Plexiglas, so I wonder what I can use to remove the topcoat without destroying the rest of the window.
Attachments
Cleaning the windows.
Svein, Could possibly you apply heat from a heat gun very gently to the top coat and use something mild like cigarette lighter fluid on a rag to quickly wipe it clean? Good luck, Glyn
Svein, Could possibly you apply heat from a heat gun very gently to the top coat and use something mild like cigarette lighter fluid on a rag to quickly wipe it clean? Good luck, Glyn
Sven
Seglare
Heat gun style.
Svein, Yes an electric heat gun. Glyn
Svein, Yes an electric heat gun. Glyn
Sven
Seglare
Svein, Yes an electric heat gun. Glyn
Hey, watch who you call Svein !

-Sven
Re: Heat gun style.
Sven, Oops, sorry. Too many S**(*)n's in the audience I guess. Glyn
Sven, Oops, sorry. Too many S**(*)n's in the audience I guess. Glyn
Sven
Seglare
Sven, Oops, sorry.
Actually, you probably gave both of us compliments by your typo

-Sven
sveinutne
Member III
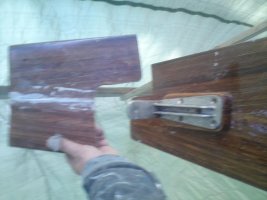
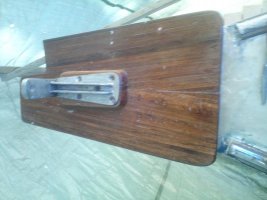
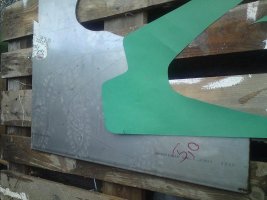
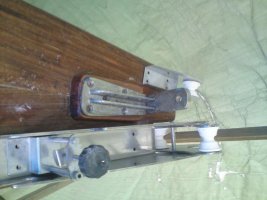
After looking at pictures of broken bowsprit, I decided to redesign my bowsprit. First I cut of 25 cm at the end, and then plan to put a 5 mm steel plate underneath the teak as extra support. If this bowsprit break loose during the first night mooring I think I will need professional help for me and the boat.
Attachments
sveinutne
Member III
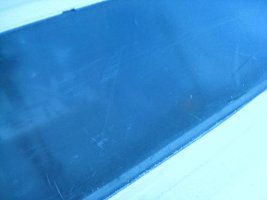
Thank you for your advice. I am a bit afraid of using chemicals on plastic, so I tried with just a razorblade, and by gentle scraping about 90% cam off. The rest might come off too, but then I will have to be hard and might make marks in the window, so I stop at this point for now. In the two pictures you see before and after.
Attachments
sveinutne
Member III
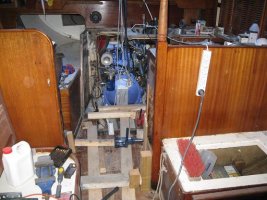
We have rain today, and we will maybe have rain about a week, so I have gone inside the boat. The V-drive is taken out, and I plan to use hydraulic transfer between the engine and the gearbox. Also I want to get some heating inside the boat. The oil in the hydraulic will need some cooling, so I plan to use the heat from the hydraulic to heat up the cabin. It will only work when the boat is using the engine, but it is better than nothing. After the boat is EU approved, I might install a 10 kW Webasto, but it will take some work to get everything right, so it will have to wait till the fall or maybe next year.
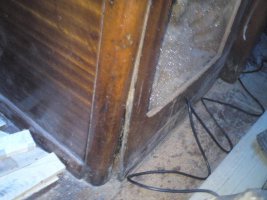
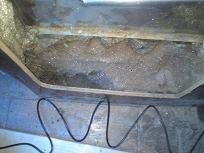
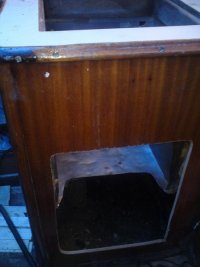
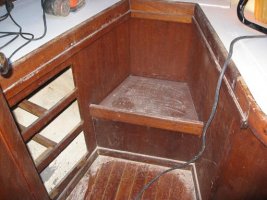
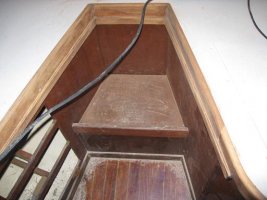
I have wonder where to put the oil radiator, but today I decided to put it in the wall that is partly broken and will need some work in any case. It is the wall to the icebox. I was surprised when I open the wall and found 33 cm thick layer of polyurethane underneath the icebox. This most have been a very well insolated icebox. Some water was inside the polyurethane and that might explain the problem with the wall. When the polyurethane was removed the wall will easily go back to the right position.
I have wonder where to put the oil radiator, but today I decided to put it in the wall that is partly broken and will need some work in any case. It is the wall to the icebox. I was surprised when I open the wall and found 33 cm thick layer of polyurethane underneath the icebox. This most have been a very well insolated icebox. Some water was inside the polyurethane and that might explain the problem with the wall. When the polyurethane was removed the wall will easily go back to the right position.
Attachments
Last edited:
sveinutne
Member III
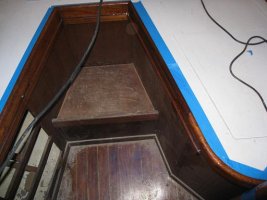
It is fun to work with wood and especially teak, when it is possible to turn something that look bad back to almost new look with only some sandpaper and epoxy or varnish. I have a lot to do that must be done before the boat is ready for sailing, so the pimping of the inside should wait, but I have decide to at least fix up the front cabin. In the pictures you can see the top teak old, sanded, and with epoxy. Then when I look around and look at the engine that is only half way in, I know I should put the priority on that, but I have to wait till the extension of the engine bed is finish. I have to wait for the epoxy to harden, and put on some extra layer before the engine can be moved back 30 cm.
Attachments
sveinutne
Member III
Thanks to Glyn Judson
The people here at EricsonYachts are special. I have been given a lot of good advice about many practical things that is needed when you try to restore an Ericson, but I want to give a special thanks to Glyn Judson for his extraordinary help. I have tried to get special bolts and parts in Norway, but with no luck. Glyn helped me to get all the parts I needed, and he did not even want me to pay for the parts. I had to send money to his PayPal almost against his will. I hope when I get past this extreme workload I have at the moment the possibility to pas some of my knowledge to others that might need it.
The people here at EricsonYachts are special. I have been given a lot of good advice about many practical things that is needed when you try to restore an Ericson, but I want to give a special thanks to Glyn Judson for his extraordinary help. I have tried to get special bolts and parts in Norway, but with no luck. Glyn helped me to get all the parts I needed, and he did not even want me to pay for the parts. I had to send money to his PayPal almost against his will. I hope when I get past this extreme workload I have at the moment the possibility to pas some of my knowledge to others that might need it.
Sven
Seglare
but I want to give a special thanks to Glyn Judson for his extraordinary help.
I know what you mean. When he isn't wearing his heart-shorts in public he's a pretty nice guy !
The first time we didn't meet Glyn was when he offered us his old force 10 BBQ if we picked it up or paid for shipping. We got to meet his nephew and we got a BBQ that served us well for a couple of years on La Petite, unlit it was too rusted out for safe cooking.
I'd never heard of "cargo-shifting" before, but it is a great tradition and worth paying forward.
-Sven
sveinutne
Member III
Before I used to like the teak with only oil, but it attracts al sort of dust and it is difficult to keep clean. So now I am getting close to the cockpit with the topcoat, and before I sand down the cockpit and make the teak look white like chalk, I think I will first sand down the teak and give it a layer of epoxy and then some varnish. Then I only need to dray of the dust later when I start to sand down the cockpit. If this is a very stupid thing to do, you got 10 hours to stop me.
sveinutne
Member III
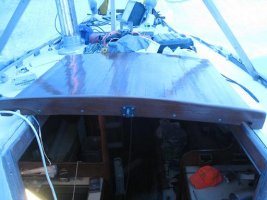
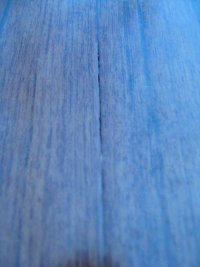
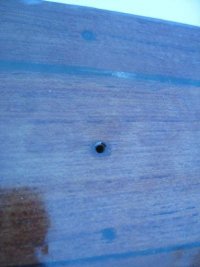
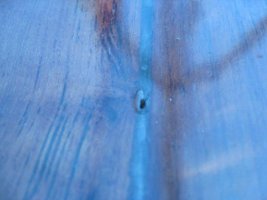
I feel like I am doing everything two times because my lack of knowledge. The hatch was only oiled, and during the winter it had changed color and also gotten very dusty. Dust does not remove easily from oiled teak, so I decided to sand it all down and put on epoxy, and later I will put on some varnish to protect against the sunlight. The hatch is now getting this hard “plastic” look, but if it will last it is much better than a nicer oiled teak that only looks good for two mounts. If you look at some of the close-up you can see cracks that did not fill, or the epoxy just went through. I also got several holes with air coming out. I am not sure how to treat this in a good way, but I just put on a second layer on the spots where it was needed. Maybe if one knew where this “trouble spots” were located one could have put on some epoxy just on this spots first. Then it would know show when the whole hatch was given a layer of epoxy. I guess when it dries up in a day or two, I will sand it down with a very find paper to get the small volcano looking spots even out. Then I do not know if I should put on a new layer of epoxy or just put on the varnish.

