Replacing rubber seals on main (large) windows/ports [Master Thread]

Prairie Schooner

Jeff & Donna, new owners 7/21
I spent too much time and money getting the wrong sized gaskets twice and eventually gave up and bedded them entirely in Dow 795. I used some little bits of the original gasket as spacers. Still going strong 6 years on. It will be a real nightmare if I ever have to redo them though!
I've read your account several times. It's what has got me questioning the need for new gaskets. On the lookout for one of those rubber squeegees.
 

gareth harris

Sustaining Member
About twenty years ago I sent a sample of the original gasket to Wefco and got a replacement manufactured to match it. Wefco told me that the fee that I paid for its creation would be a one time payment and that it would then be available for future orders at a standard price, so it should still be available.

Gareth
Freyja E35 #241 1972
 

Nick J

Sustaining Member
Moderator
Blogs Author
Nick,
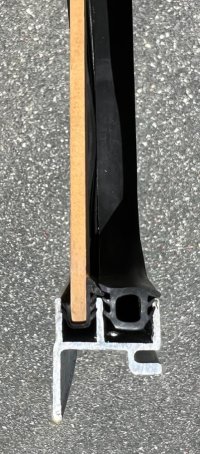
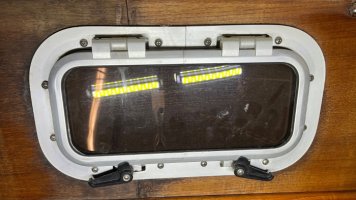
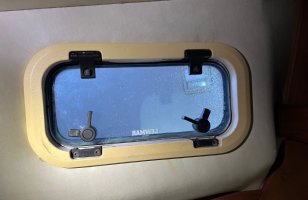
Absolutely. That would be a royal pain. But in looking at the construction, I'm not sure the current Catalina offering matches what we have on our boat. Below is a schematic (only roughly to scale) of how our lights are constructed. And, the Catalina gaskets.

View attachment 46937 View attachment 46938

Do either of these look like what you had on your 25+ or got from Catalina? The fillet of the gasket only exists on the inside.
Yes, that's exactly what I had and the Catalina kit worked. I put a heavy bead of sealant in the channel of the glazing between the glazing and glass and another bead between the aluminum and the glazing. It essentially just used the glazing as a filler and the sealant created the water barrier. I don't have the instructions anymore, but I'm pretty sure that's what the silicone sealant is for (if I remember correctly it was Dow 795) It worked well for me. I did the newspaper test to verify everything was water tight.

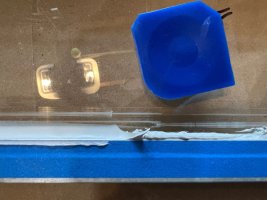
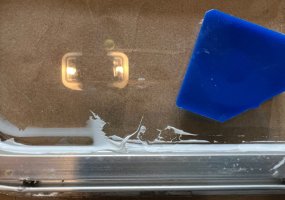
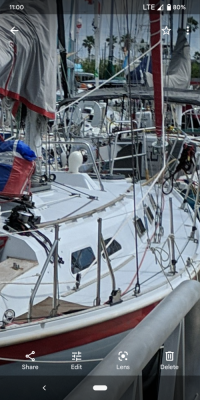
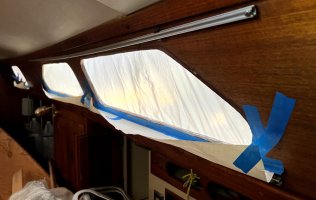
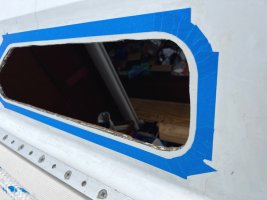
I think all the beads of sealant you see on these portlights when you walk the docks (Blue stuff in your pic) is evidence of attempts to seal the leaks without removing them. It's more of a band-aid then the actual method of construction. That's what my portlights look like on the 35-3 and the are starting to leak. Time to brush up on this again and give it a go. Good thing so many of us have already done it and can share some tips and tricks.
 

ConchyDug

Member II
I did away with the aluminum frames and went vinyl. Also, replaced the teak around the windows and ports with Formica. https://markplastics.com/ in California fabbed the new frames and seals. No leaks 4yrs later even after the Great Texas Snowpocalypse, Texas summers, a hurricane, and multiple offshore races. So just another route to go when tackling this project.

Screenshot_20230503-110029.png

IMG_20230327_132759_01.jpg
 

Prairie Schooner

Jeff & Donna, new owners 7/21
I say "opening ports" "portlights" and "fixed ports. (Anything but "windows")

"Deadlights" seems a stretch to describe the ports on our boats. Or anyhow, in conversation I wouldn't know exactly what was meant.

Noun[edit]​

deadlight (plural deadlights)
  1. (nautical) A strong (often wooden) shutter fitted over a porthole, that can be closed in bad weather to keep water out and discourage the glass windows from breaking.
  2. (nautical) A deck prism, a device to allow light into the cabin of boat through the deck.
  3. (figurative) An eyelid.

Fixed Port(light) and Opening Port(light) it is then.

I found one link that supported deadlight as a fixed ‘window’ - https://www.diy-wood-boat.com/Porthole.html - but others which said it is a solid cover to protect the opening. No offense meant, Christian, but finally I checked with another friend, who was director of an historic seaport museum. He said it can be a matter of debate, but was in the camp of deadlight = cover. He cited the International Maritime Dictionary as one of his reliable sources. Fixed Port and Opening Port.

“Your mariner is an honest fellow, none better; but he is sadly given to jargon.” Stephen Maturin
Post Captain, Patrick O’Brian

Cheers, Jeff
 

Prairie Schooner

Jeff & Donna, new owners 7/21
fixed port rebed 1802 flip.jpg
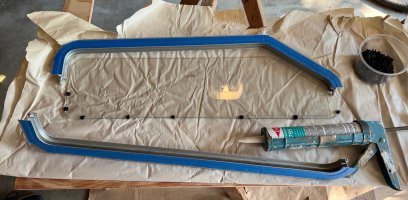
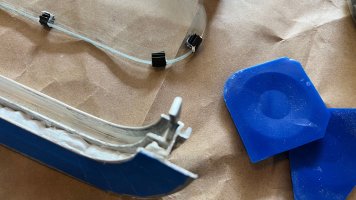
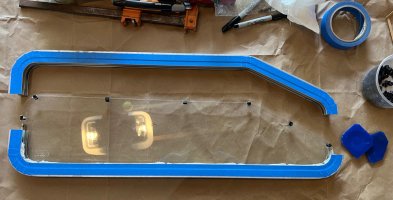
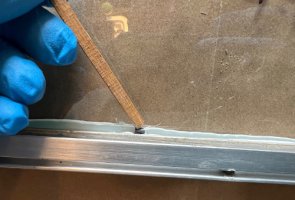
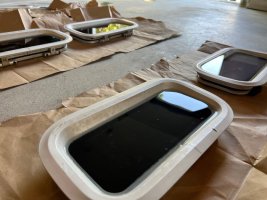
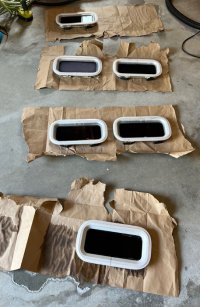
With a piece of wood standing in for the glass. A little treatment with 303 and the gaskets seem to be in good shape. I'm still inclined to reuse them.
 

Prairie Schooner

Jeff & Donna, new owners 7/21
There’s no new information here. I’m merely illustrating techniques that others have described in this and other threads. Partly this is in response to questions by @Hilary in a different post.

portlight extraction 705.jpg
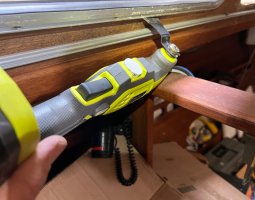
First I used a oscillating tool with a knife blade (Not a saw blade!) to separate the joint from the inside. I used a snap-off utility knife with the blade extended to cut at the corners. You could also do this with the rest of the frame, but it would be a lot of work.

portlight extraction 688.jpg
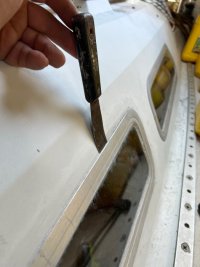
Then I used a flexible putty knife with a hammer and went all the way around the exterior frames.

portlight extraction 703.jpg
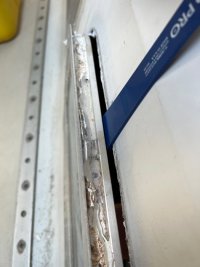
After that, the portlights came out fairly easy. I very gently used a prybar. Aluminum frames are easy to bend. As with with other posters here, some of the original caulk was still flexible and other parts had deteriorated to a dry putty. This leads me to think it was something besides silicone between frame and cabin wall.
 
Top