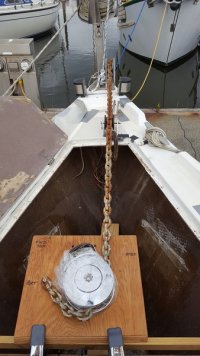
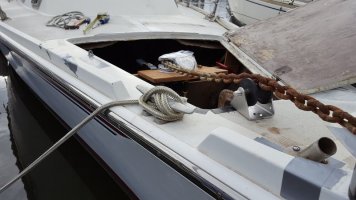
Over the past few years I have reviewed many anchor windlass and locker modification posts here on EY.org. I looked at a couple in person, too. Some really fine thought and workmanship has gone into the various configurations. I thank and appreciate all those who have gone before me and posted their process and results. I will share my experience here.
Briefly, the decisions that guide this installation
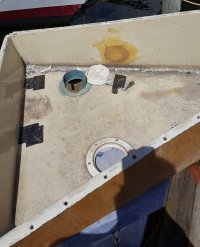
1. No odors or moisture shall get into the v-berth area. We've had wet feet in the middle of the night from the existing locker pan and will not accept any more of that.
2. The windlass shall not be a trip hazard on the foredeck and the anchor locker door will remain as unmolested as possible.
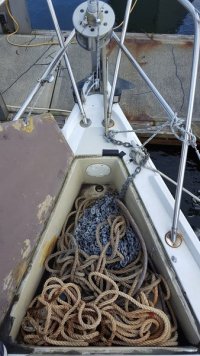
3. The pile of rode and chain must be accessible from the deck in case of pyramids or fouling and to facilitate drying out the locker contents.
Enough of that requirements-speak. So, there will be a new, lowered floor and the locker must be sealed so the moisture stays out of the interior of the boat.
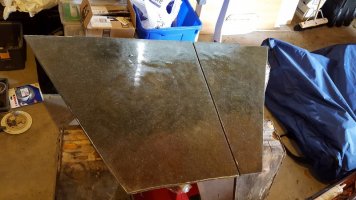
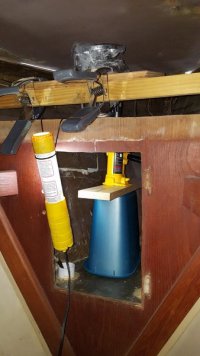
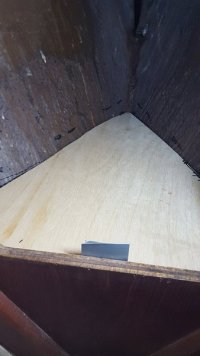
I made a cardboard pattern for the new floor, followed by a slightly more accurate 1/8" plywood pattern shown below. The new floor slants slightly downward towards the pointy part of the bow. A new drain hole will be drilled on the left side of the hull up there. The top of the new floor will be about 1/2" below the edge of the v-berth opening.
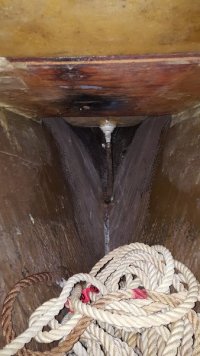
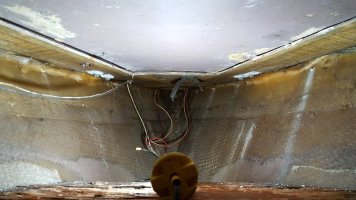
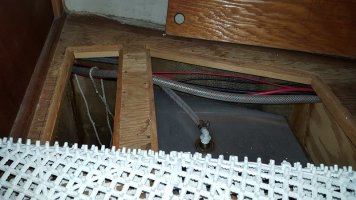
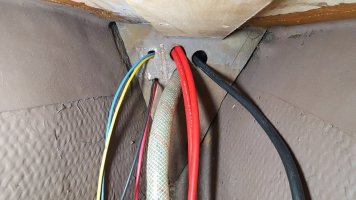
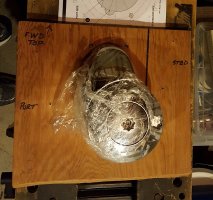
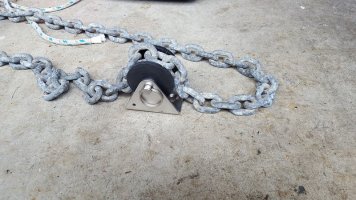
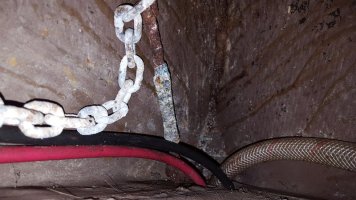
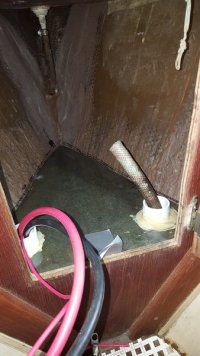
The existing wires and washdown pump hose were routed low in the hull and come out below the level of the new floor. Rather than re-route them, I made holes in the new floor and epoxied in 1-1/4" unions for PVC pipe to act as feed-throughs. I will add pipe above the floor to an appropriate height. The chain and turnbuckle attached the bitter end of the rode to a u-bolt. The aluminum turnbuckle broke with little effort while I was removing it. The u-bolt has also been hacksawed out.
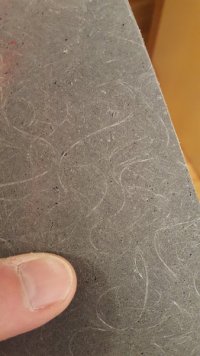
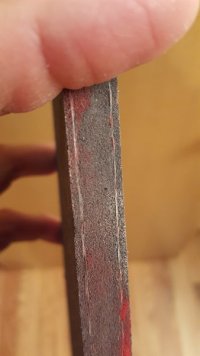
The new floor is made of 1/2" Coosa board, which is a flberglass reinforced polyurethane foam replacement for plywood. Coosa is impervious to water. I used the stronger Bluewater 26 product. I covered both sides with one layer of epoxy and cloth, to protect against dents. It is lighter than marine plywood and plenty strong. The underside of the floor has mahogany cleats (made from scraps) and fiberglass cloth "curb-feelers" to keep control of the thickened epoxy during the final installation. Using peanut butter consistency epoxy was important as it kept the mess to a minimum when I had to fit the floor through the existing opening. It barely fit. I spent about an hour doing dry-runs of getting the floor through the v-berth opening and the wires and hose into the unions. After the initial set-up overnight I added more thickened epoxy over the cleats and then tabbed the sides in with one layer of cloth and epoxy.
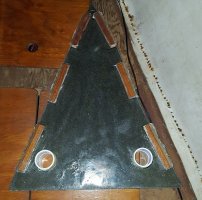
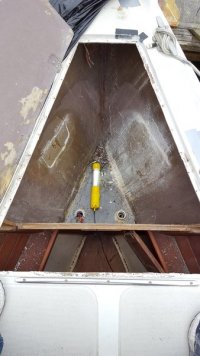
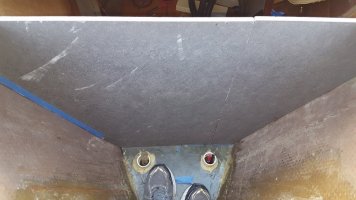
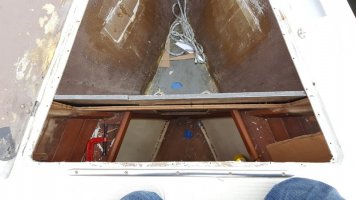
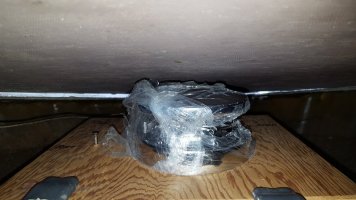
Here is a shot of the floor after one of the dry-runs. The edges of the floor were cut on an angle and then were custom tailored during the initial dry-fits, before the cleats were glued on. The cleats were made to roughly match the angle of the hull and then glued to the bottom of the floor. Coosa (I'm just a satisfied customer) cuts with regular wood-working tools and files and rasps work great. Not hard at all to work with it. There is some fiberglass chop embedded in the polyurethane, in addition to two layers of cloth about an eighth inch below each surface.
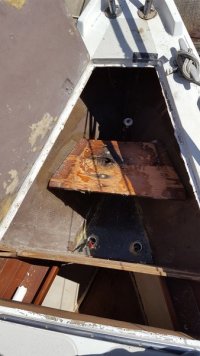
In Part 2 I'll get into the demolition of the old anchor pan and next steps to seal up the locker.
Briefly, the decisions that guide this installation
1. No odors or moisture shall get into the v-berth area. We've had wet feet in the middle of the night from the existing locker pan and will not accept any more of that.
2. The windlass shall not be a trip hazard on the foredeck and the anchor locker door will remain as unmolested as possible.
3. The pile of rode and chain must be accessible from the deck in case of pyramids or fouling and to facilitate drying out the locker contents.
Enough of that requirements-speak. So, there will be a new, lowered floor and the locker must be sealed so the moisture stays out of the interior of the boat.
I made a cardboard pattern for the new floor, followed by a slightly more accurate 1/8" plywood pattern shown below. The new floor slants slightly downward towards the pointy part of the bow. A new drain hole will be drilled on the left side of the hull up there. The top of the new floor will be about 1/2" below the edge of the v-berth opening.

The existing wires and washdown pump hose were routed low in the hull and come out below the level of the new floor. Rather than re-route them, I made holes in the new floor and epoxied in 1-1/4" unions for PVC pipe to act as feed-throughs. I will add pipe above the floor to an appropriate height. The chain and turnbuckle attached the bitter end of the rode to a u-bolt. The aluminum turnbuckle broke with little effort while I was removing it. The u-bolt has also been hacksawed out.

The new floor is made of 1/2" Coosa board, which is a flberglass reinforced polyurethane foam replacement for plywood. Coosa is impervious to water. I used the stronger Bluewater 26 product. I covered both sides with one layer of epoxy and cloth, to protect against dents. It is lighter than marine plywood and plenty strong. The underside of the floor has mahogany cleats (made from scraps) and fiberglass cloth "curb-feelers" to keep control of the thickened epoxy during the final installation. Using peanut butter consistency epoxy was important as it kept the mess to a minimum when I had to fit the floor through the existing opening. It barely fit. I spent about an hour doing dry-runs of getting the floor through the v-berth opening and the wires and hose into the unions. After the initial set-up overnight I added more thickened epoxy over the cleats and then tabbed the sides in with one layer of cloth and epoxy.

Here is a shot of the floor after one of the dry-runs. The edges of the floor were cut on an angle and then were custom tailored during the initial dry-fits, before the cleats were glued on. The cleats were made to roughly match the angle of the hull and then glued to the bottom of the floor. Coosa (I'm just a satisfied customer) cuts with regular wood-working tools and files and rasps work great. Not hard at all to work with it. There is some fiberglass chop embedded in the polyurethane, in addition to two layers of cloth about an eighth inch below each surface.

In Part 2 I'll get into the demolition of the old anchor pan and next steps to seal up the locker.


