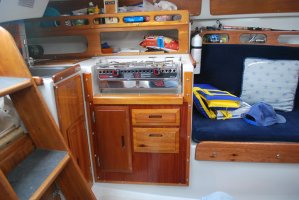
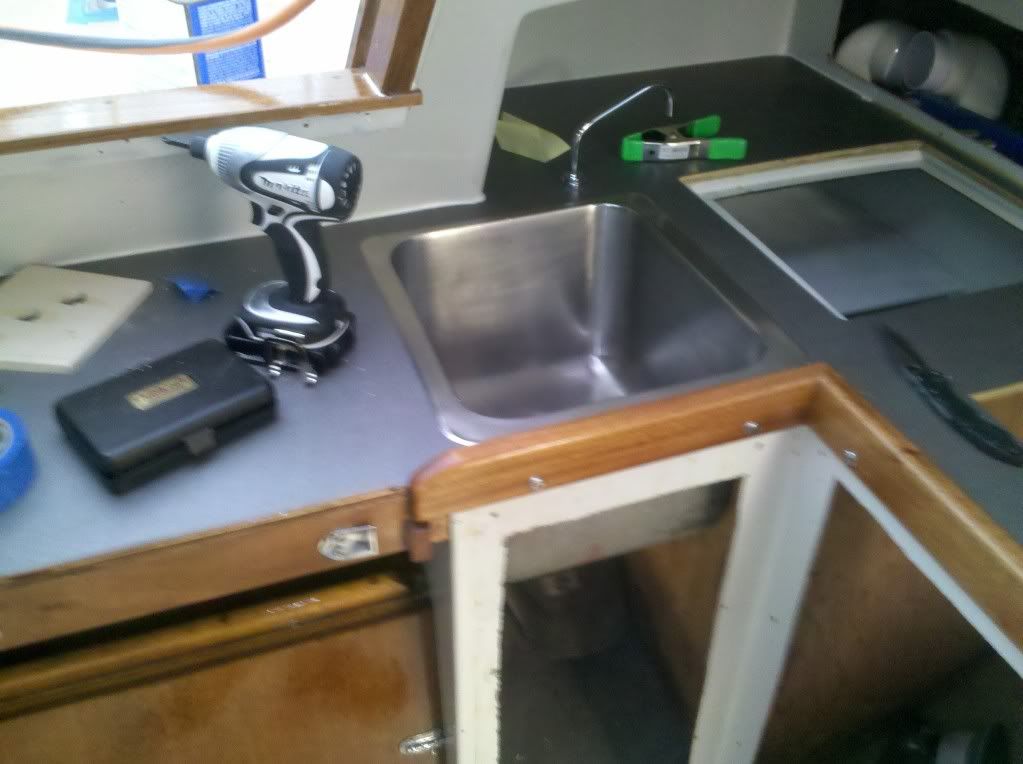
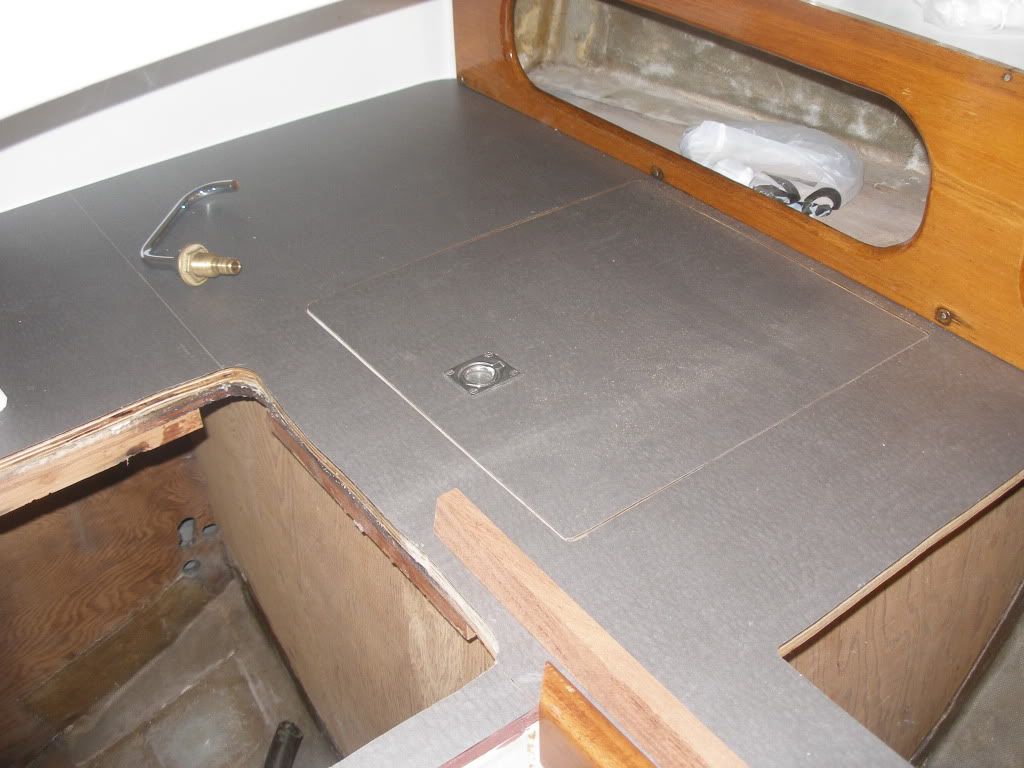
Galley countertop What would I do
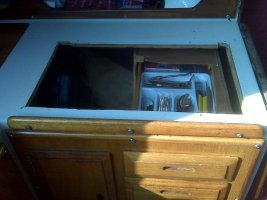
Ouch, That's one heck of a hack job, no pun intended. PO's can present such challenges at times. Not having been able to work on my boat since 15 August, I miss all that work, so here goes

A) Read up on West Epoxy and GelCoat(West Marine). Ese the 1#105 epoxy with #205 hardener.
1) Empty out the cabinet drawyers and then remove them.
2) Unscrew all the screws holding the cabinetry in. Leave top screws in on both sides for removal last.
3) Remove the mahogany behind the galley.
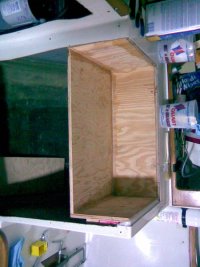
4) Measure the hole and cut a piece of 1/2" Marine grade plywood to closely fit the hole. Measure the thickness of the material at the edge.
5 Grid a bevel for about 1 inch so that the underside protrudes while the topside is cut back. Leave 1/4 inch face at bottom side of edge.
6) Read up on West Epoxy.
7) Take the Plywood and using West Epoxy brush on epoxy all over backside of board. Flip it and then place on Wax Paper doing other sides. Let sit for 2 hours.
8) Get 10oz bi-axial cloth and add about 8 layers to the board or until you reach the thickness of the original surface minus 1/64". Keep flat and all air bubbles out. When done, cure 48 hours and then come back and clean with 100% denatured alclohol, sand to flat surface with 200 grit paper. Dont take off too much. Prep the back side of board the same way approx 3 inches back from each side.
9) Grind a 1" bevel from bottom side cutting into top side. Point is to end up with a vee around the edgewhen you put the board back into the gaping hole.
10) Using a Free 5GA Paint mixer stick, cut it into 3" strips and secure one to each side of the back of the board with a 3/4" screw. Install this board into the gaping hole and screw (temporary) into place.
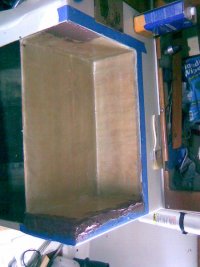
11) Cut several(4) 10oz biaxial cloth or tape cut into 4 inch strips by about four inches long. Wet them out on waxpaper and let sit for 30 minutes. Take the remaining epoxy and brush it on the inside ceiling of the counter ply (both added board and surrounding existing ply surface. Only cover the areas around, but not including, the temporary mounts. Wait until it hardens (1 hour) to a tacky sticky surface. Then Using Epoxy thickened with #403 to peanut butter consistency brush on thin layer and then peel the sticky tape and attach to the surface around, but not over the temporary mounts. Babysit for about 1/2 hour to ensure they don't peel off. Come back the next day.
12) Unscrew the temporary mounts and then repeat step 11 to add in another layer of 100z bi-axial cloth. When you make your tape here I would pre-fabricate it on a flat surface using waxpaper. Do three layers of exact length needed and then when gets sticky, then attach to the ceiling around the sides. Wait 1.5 hours and then come back and hit all four edges so that there will be no leaks. Go home and come back the next day.
13) Fill in the sides with glass. Cut and number glass pieces starting with larger pieces first. Lay them into the V areas and cut approx 1/8" from edge
so as not to go over existing counter top gelcoat. Cut smaller layers until you
have a small gap left in middle. Do for all sides.
14) Start adding in glass layers with epoxy until you have filled most of the void. Should be no more than 12 layers. Let each 4 layers cool for 1 hour before adding another layer. When all done, add in some peanut butter consistency epoxy with #407 filler into the remaining gaps along the sides and middle. Keeping 1/64" below the top of the surrounding gelcoat surface. Wait 24 hours. Ensure you keep the epoxy off of the surrounding gelcoat. Use acetone to remove.
14) Clean with alcohol and then Sand using #120 wetdry paper to flat surface and clean with alcohol again twice using seperate rags.
15) Get some gelcoat and coloring agents. Empty an ounce of gelcoat into a second empty can of same size mix in some brown coloring agent in very very small increments. When you think you have close color, dab a bit on the surrounding gelcoat, check and then wipe off. Tape off edges around the job with Then when you get about 4 oz made, start liberally a batch with the hardener in it with a sponge brush along the ply and glass surface. Wait a day and then lightly sand with #220 wet paper (add some water to keep dust down(really bad for you and hard to remove). Wipe with sponge until clean. Alcohol prep surface before adding a second coat... Eventually you will get up to the surrounding surface gelcoat.
16) Sand the gelcoat with #400 and then #600 and then #800. Take the last up to and touch the pre-existing gelcoat with it. Finish with rubbing compound. Should look pretty good and have original strength.
Alternatively, you could also do something like the followng since you already have a gaping hole in your countertop. I actually faired the surface flat and then sprayed about eight layers of gelcoat to complete the job. Used inexpensive and disposable Preval applicators. Then had to shorten the existing cabinetry and added a nee face using Marine grade play with a Honduran mahogany verneer.
Stuart

