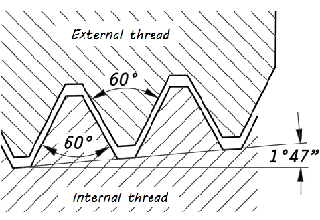
Well as a general rule for me, NPT fittings are ALWAYS assembled with Harvey Seal, or some other approved thread seal paste for propane gas. Once the adapter fitting from NPT to flare is installed, you can do without thread seal for flare connections. If the NPT threads are such that no air (gas) tight connection can be achieved then time to replace, or re-cut.
Try assembly as is, then test for leaks with electronic gas sniffer, you may get lucky but failing that, me thinks the last resort is your best option.
If there is a machine shop near you, they may be able to cut and re-thread. Our local Home Depot routinely cuts and threads gas pipe (black iron) but your tube may be to small for such a machine.


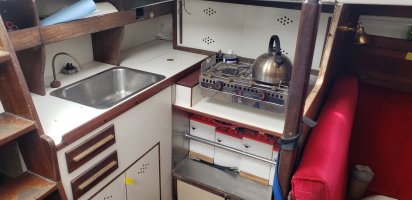
 galley.JPG")
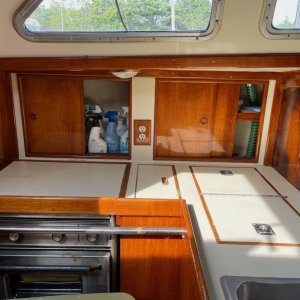
 galley2-001.JPG")